Dirt Locker Detached Instructions
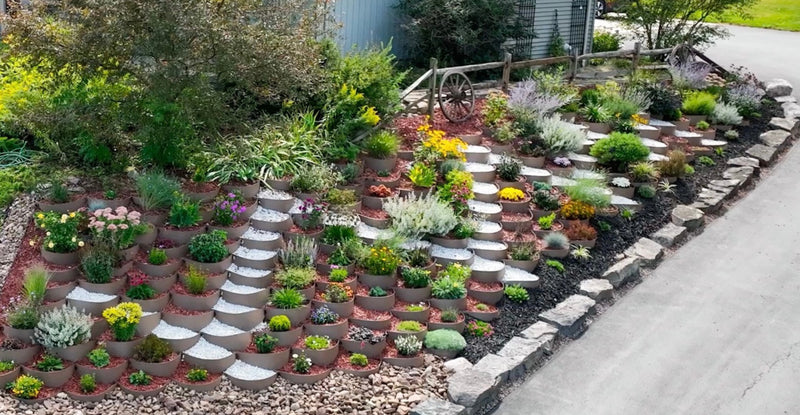
Step-by-step guide for installing Steep Slope Detached Dirt Lockers on steep slopes. Follow these instructions to create a stable, plantable hillside retention system.
For more detailed installation information — including Alignment Tool instructions — download the full PDF guides:
• Mild and Steep Slope Detached (PDF)
For more detailed installation information — including Alignment Tool instructions — download the full PDF guides:
• Mild and Steep Slope Detached (PDF)
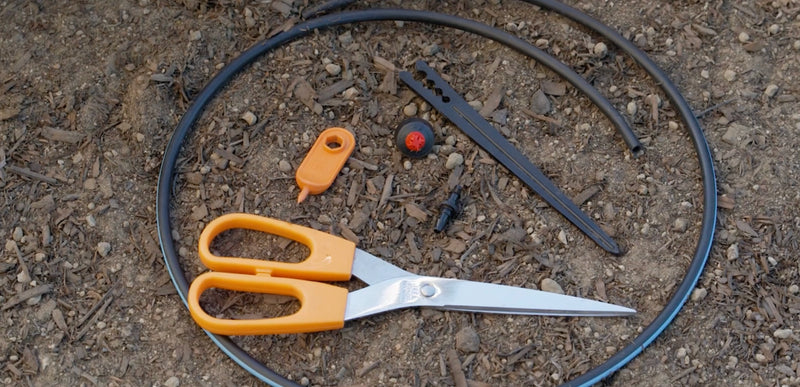
Supplies Needed
- Dirt Lockers
- J Hooks
- Alignment Tool
- 2 Garden Pins
- Topsoil
- 4 ft Level
- Gloves
- Plants
Optional Supplies
- Landscape Rocks
- Pavers
- Mulch
- Compost
- Drip Irrigation
- Gopher Mesh
- Fertilizer
- (Please Avoid Landscape Fabric)
-
1
Prep Your Slope
Clear all vegetation from the project area. Rake the area thoroughly. Eliminate divots, ruts, and bumps in the terrain. Create a smooth, level surface.
-
2
Use String to Space J Hooks
Position J Hooks 1 to 3 feet below the ridgeline. Secure each J Hook halfway into the soil using a mallet. Refer to the chart for spacing indicated in red. Place 1 J Hook for each Dirt Locker®, plus an extra at the end of the top row. Use a string for alignment to maintain a straight line.

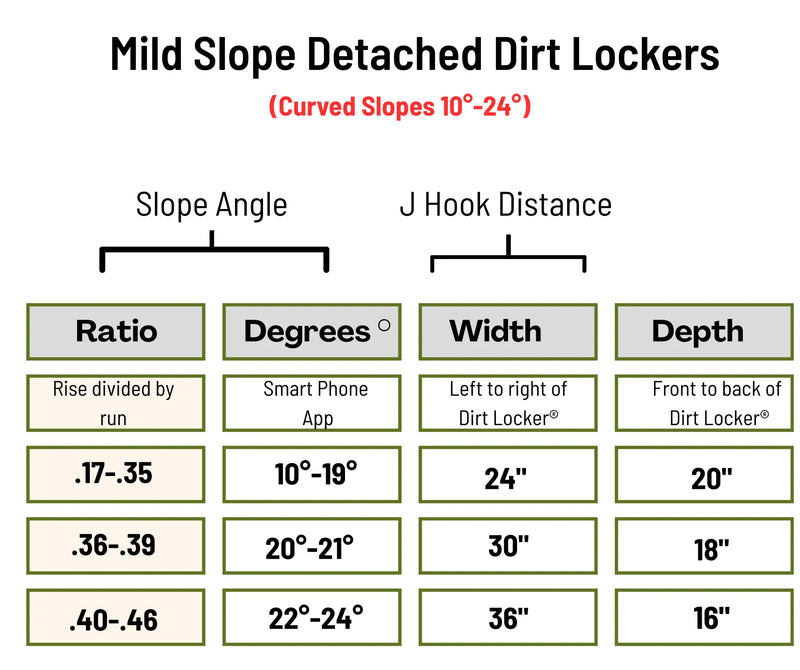 For Mild Slope Dirt Lockers
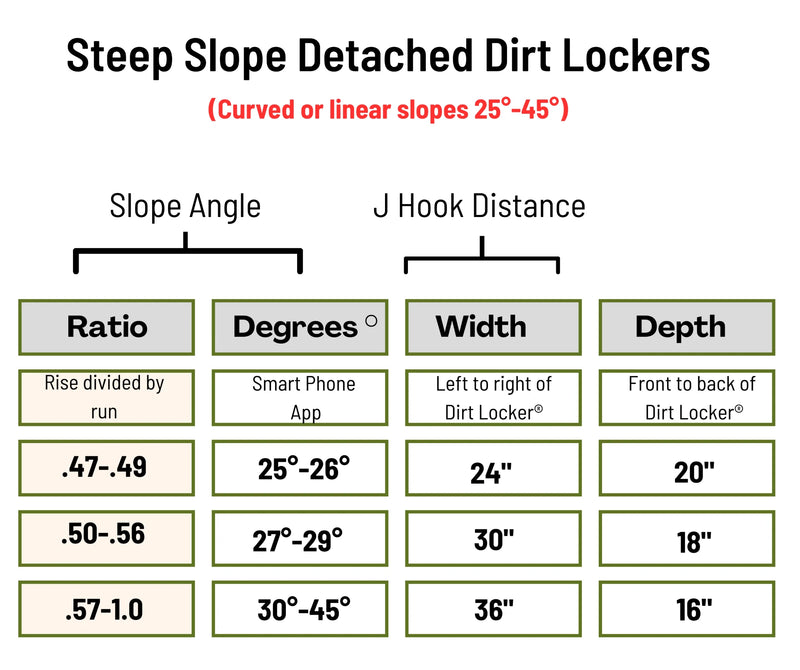 For Steep Slope Dirt Lockers
 -
3
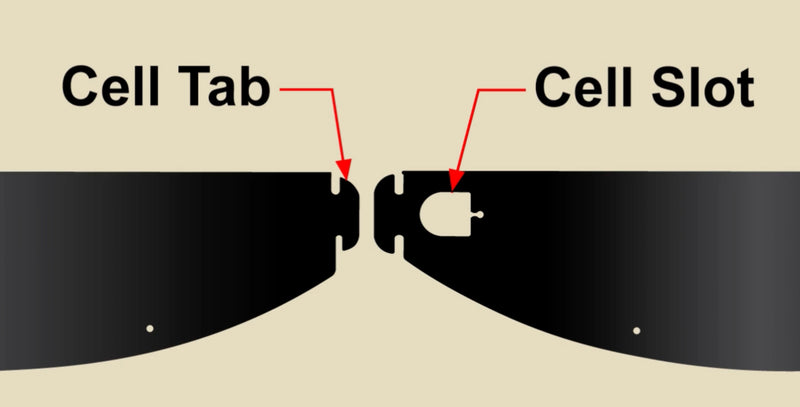
Assemble the Dirt Lockers
Assemble the Dirt Lockers with the matte side facing out. Insert the CELL TAB of one Dirt Locker into the CELL SLOT of another. If using them as individual half circles, skip this step. Install single Dirt Lockers with 2 J hooks and 2 metal stakes in your desired location.
Note: Always assemble your Dirt Lockers matte side out, working left to right. Place 1 J Hook on the left side only. Then use the alignment tool to shape your curve.

-
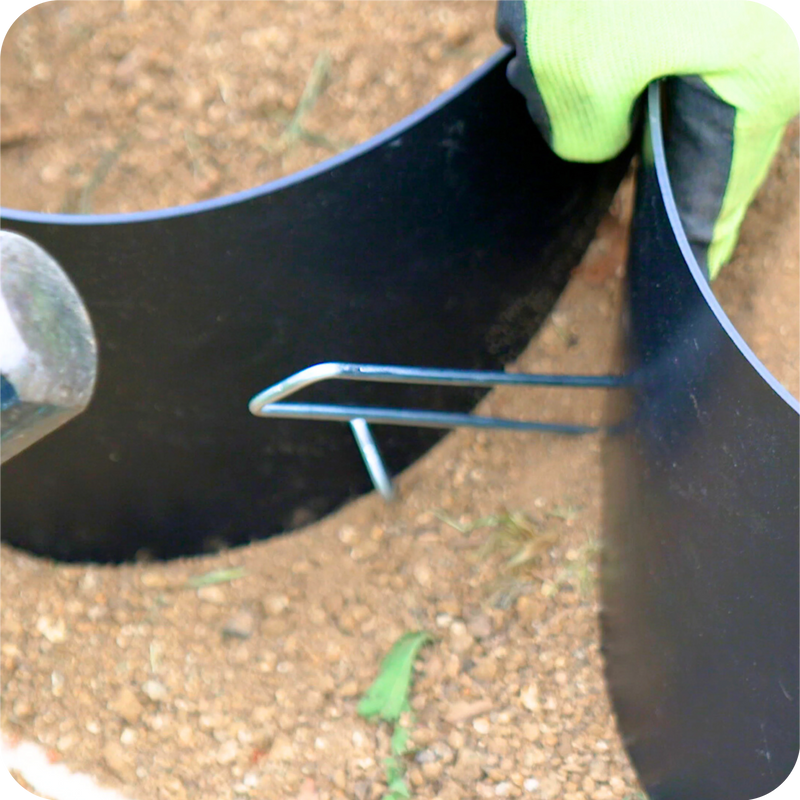
4
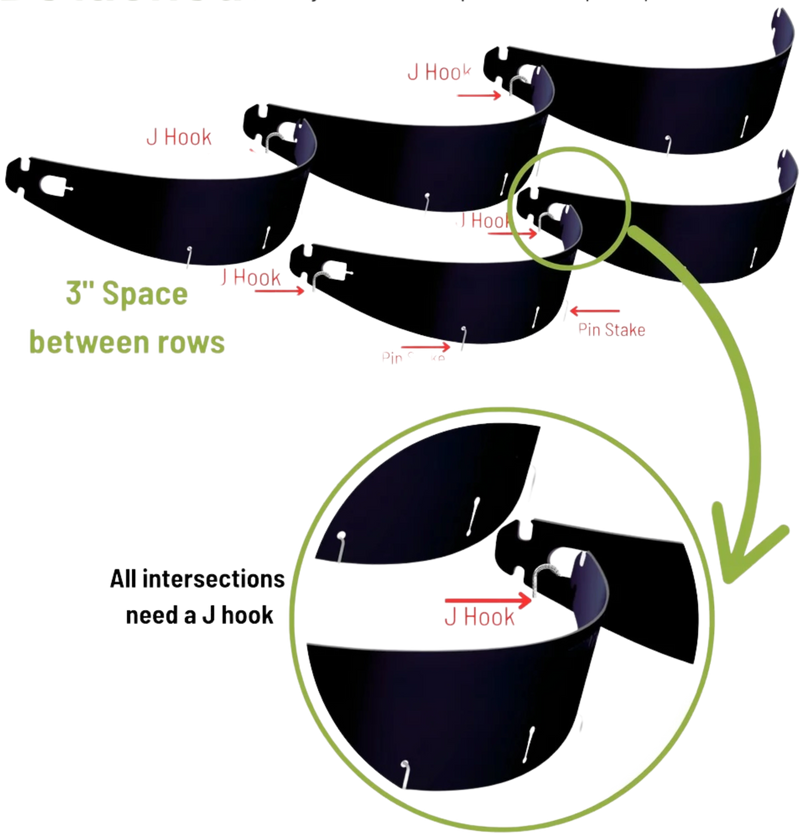
Pre-assemble Single Row or Use Alignment Tool
Bring 1 complete row up at a time, or follow the alignment tool method above. Place the top row of Dirt Lockers over the J Hooks at the intersections. Remove 1 J Hook at a time. Replace it in the same spot, aiming the long end down the hill through the cell slot. Push the J Hook to the round edge of the CELL SLOT. Repeat for every intersection.
Important: Be sure to offset rows to form scallops.

-
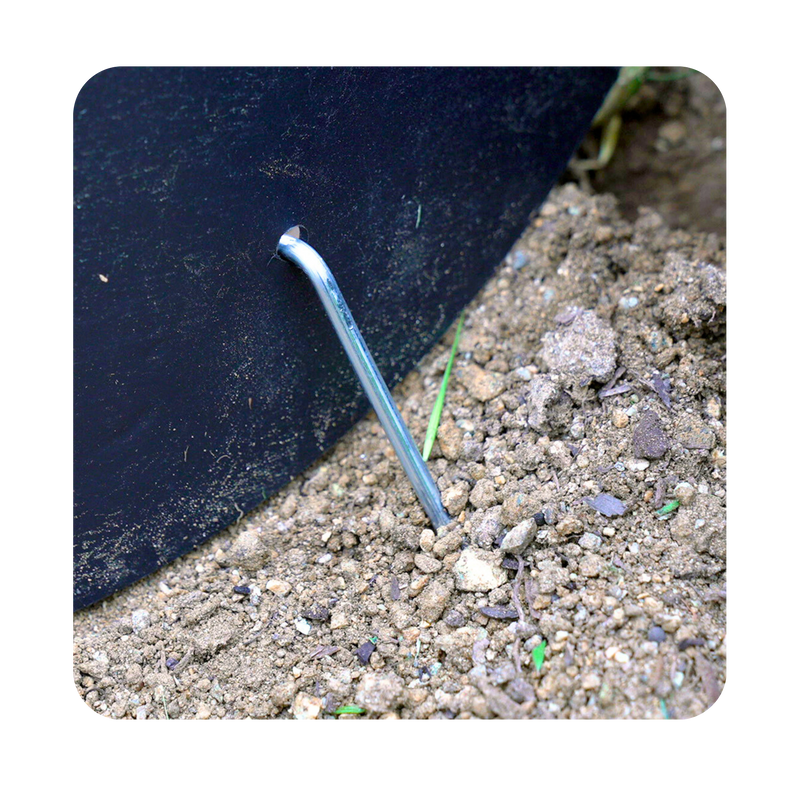
5
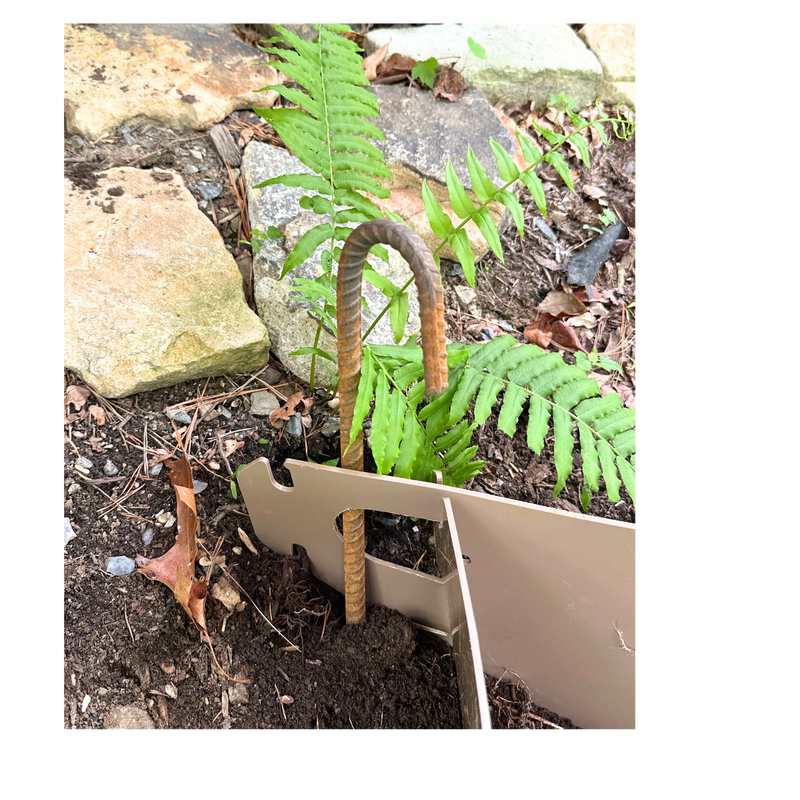
Tap In Metal Garden Stakes (Pins)
Use a mallet to tap garden pins into each hole in the front of the Dirt Locker®. Your Dirt Lockers will be secure at 4 different points. The Dirt Lockers will expand with soil. Keep pins somewhat loose to prevent warping.
-
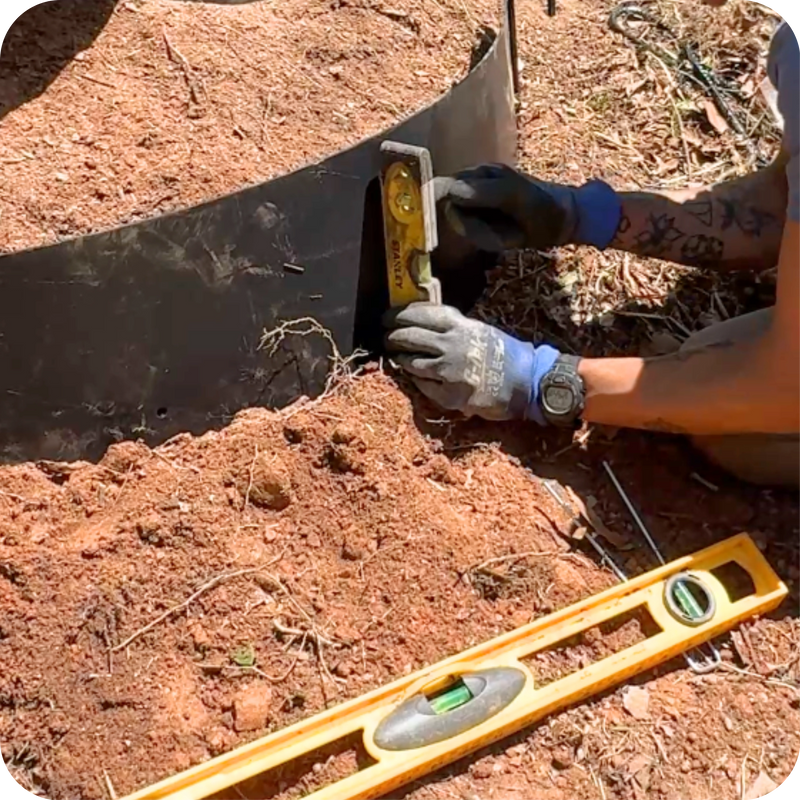
6
3 Points of Leveling
Watch this video for the 3 points of leveling. Use a 2x4 and mallet to level each piece throughout the process. If your Dirt Lockers tip forward, tap the back ends into the hill. If the Dirt Lockers angle upward, tap the front edge into the hill.
Spacing Tip: Use the straight edge as a guide. Make contact with the row above. The end tabs measure exactly 3 inches apart, which is the necessary spacing.
-
7
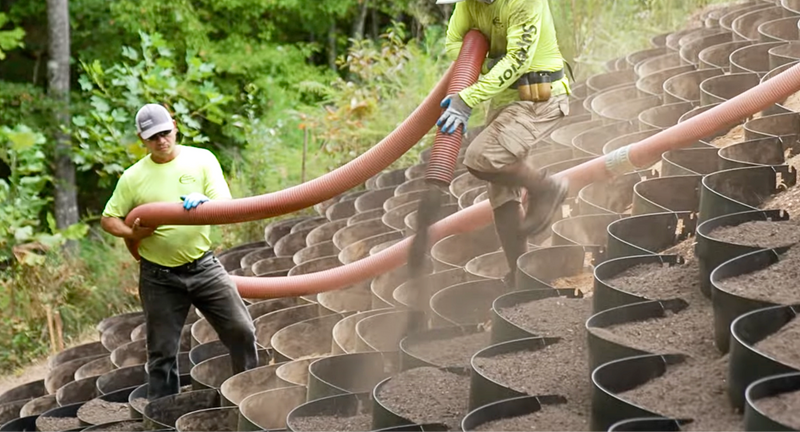
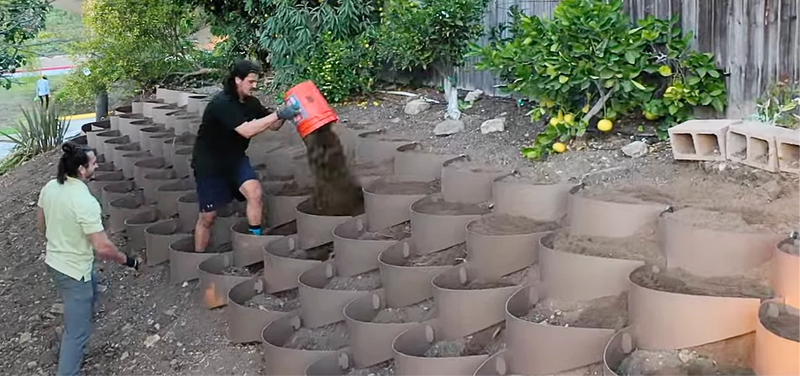
Backfill With Soil
Backfill with topsoil. You may fill one row at a time, or use a soil blower for larger projects. Keep the soil loose. Compaction is not necessary. Allow soil to settle before topping off. If the Dirt Lockers become misshapen, adjust the front metal stakes and J Hooks as needed.
-
8
Optional
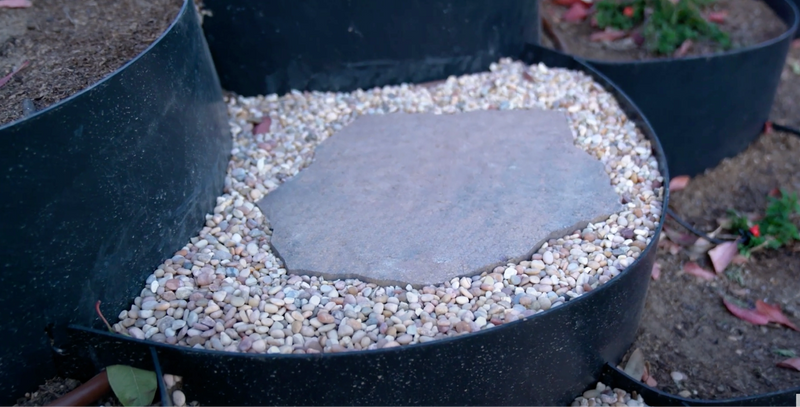
Create Stepping Path (Optional)
Designate cells for a stepping path in a horizontal or diagonal pattern. Ensure safe stepping only after the system is fully set up. Incorporate steps while following the minimum planting requirements.
Important: Step on the soil-filled area, not on the Dirt Locker edge.

-
9
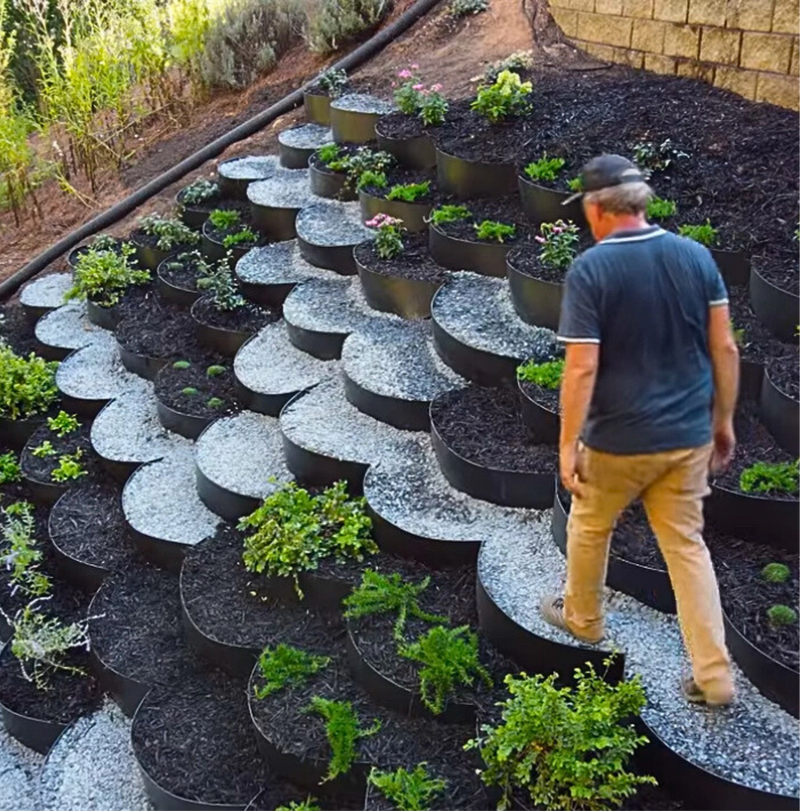
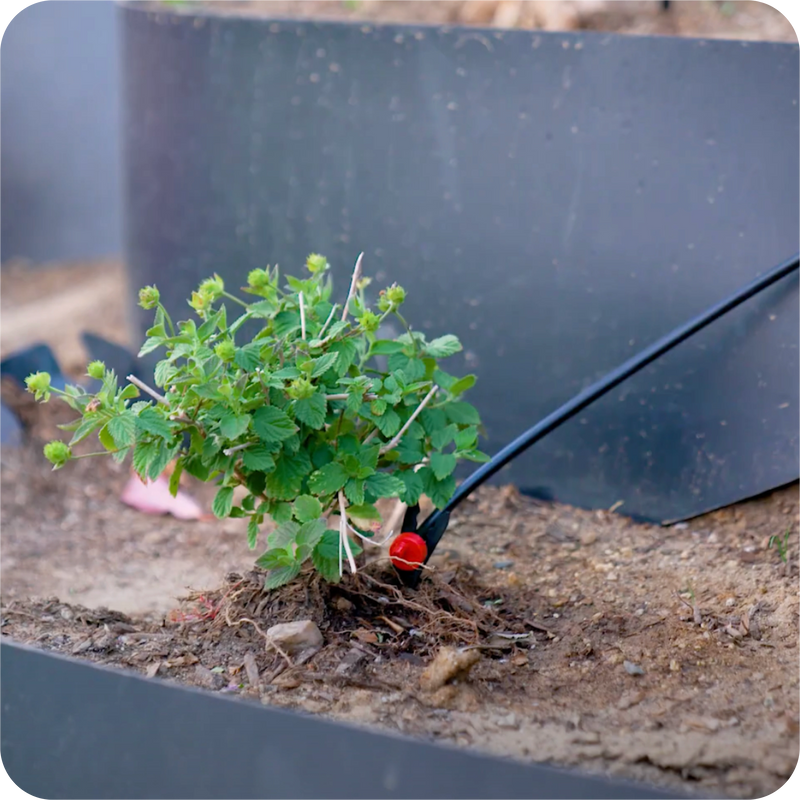
Begin Planting
Keep 50% to 70% of your Dirt Lockers filled with plants at all times. This is crucial for hillside stability. Soil settling is normal, especially with compost. Saturate with water. Let it settle, then top off before planting. Annually replenish soil. Use organic topsoil and compost for best results.
-
10
Optional
Drip Irrigation (Optional But Recommended)
Use drip irrigation for optimal water efficiency per plant. You can also utilize existing sprinklers. Watch the video for detailed instructions.
-
11
Take Photos and Share
Document your installation and share your results!


