This section doesn’t currently include any content.
Add content to this section using the sidebar.

DIY Step By Step Guide

Click here for Dirt Locker® installation instructions, complete with accompanying graphics and charts. These materials will also be sent to you via email following your purchase.

STEP 1: Space J HOOKS AT TOP

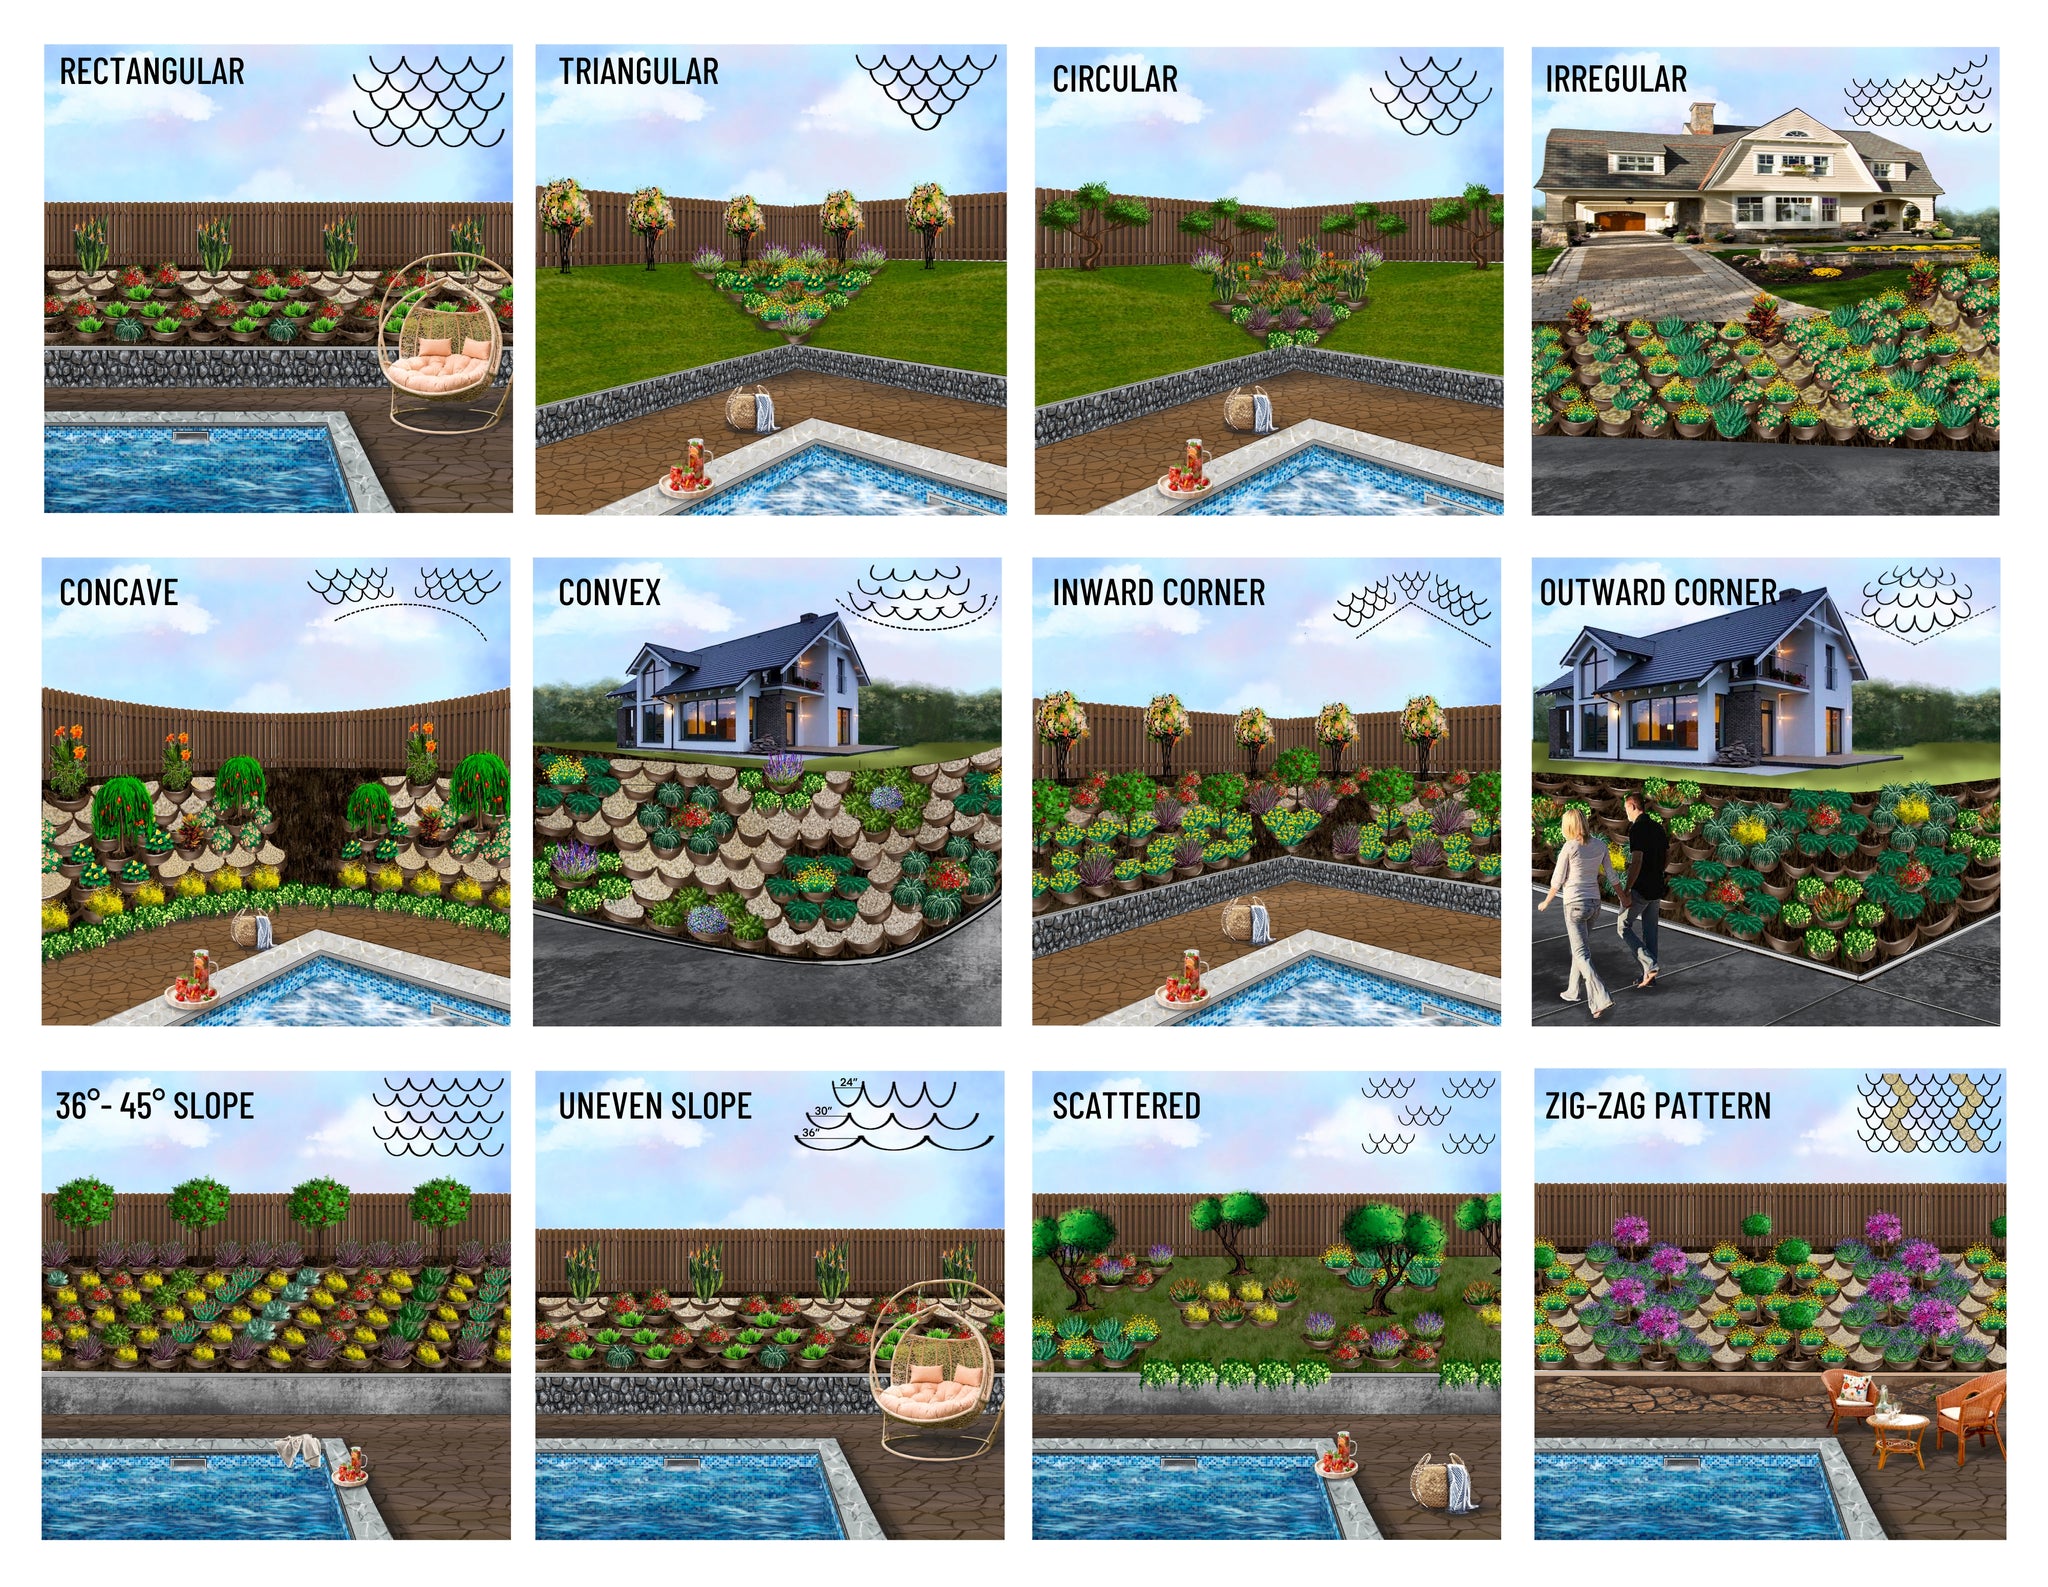
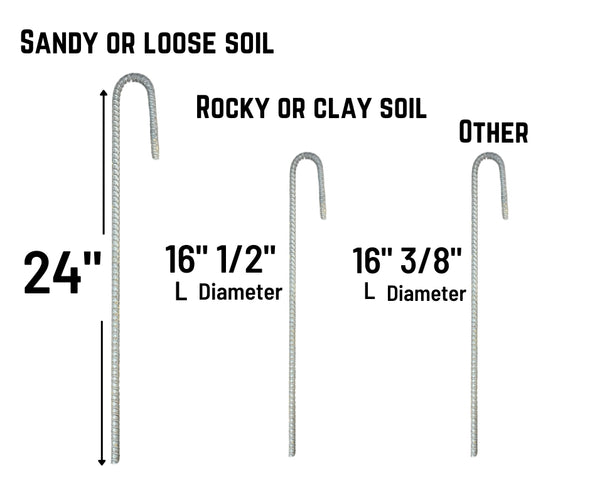
  • Starting 1-3 feet below the ridgeline, anchor J hooks halfway into soil with mallet and space them out 24", 30" or 36" which will set the width of your Dirt Lockers. It is crucial to follow your specific width setting according to your exact slope angle. Follow your design set up requirements from your estimate, or click here for reference.
  • Place one J hook for each Dirt Locker® plus one extra for the end on the top row. Use a string to keep the line straight.
  • When encountering rocky soil, use a concrete drill for pre-drilling holes, or position J hooks horizontally to reduce your chance of hitting rocks below.

  • Pro Tip! Lay your Dirt Lockers® in the sun for easier install.
  • CLICK HERE TO WATCH THIS STEP!

STEP 2: ASSEMBLE DIRT LOCKERS

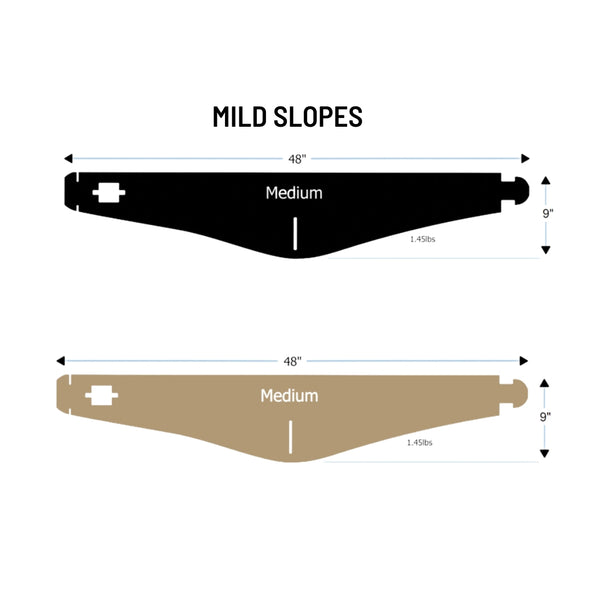
  • Assemble the Dirt Lockers (matte side facing out) at the bottom of hill by inserting the CELL TAB into the CELL SLOT.
  • Add each consecutive piece from left to right to complete your first row.
  • Next, connect each additional row by inserting the ROW TAB into the CENTER SLOT if your slope angle is below 36°.
  • For slopes 36°-45° proceed with a separate row application as seen on step 4.
  • CLICK HERE TO WATCH THIS STEP!

STEP 3: CARRY PRE-ASSEMBLED ROWS

  • If creating connected rows, carry as many pre-assembled rows up the hill as you can. This will take multiple people to help. Place the top row of Dirt Lockers over the J hooks at the intersections. Remove 1 J hook at a time and replace it in the same spot, aiming the long end down the hill, through the cell slot
  • Once in place, pull the system from the bottom rows to spread it out over the terrain and form even semi-circles, staying true to your designated width setting of 24", 30", or 36". Continue adding on more Dirt Lockers if needed. Get ready to place your J hooks next.
  • CLICK HERE TO WATCH THIS STEP!

EXTREME SLOPES OF 36°-45° (MAX)

  • For steep slopes 36-45°, carry each row separately and place top row of Dirt Lockers over the J hooks at the intersections.
  • Remove 1 J hook at a time and replace it in the same spot, aiming the long end down the hill, through the cell slot.
  • Before adding a second row, shape and fill the Dirt Lockers with soil as they will expand at this step.
  • Place the next row of J hooks, ideally positioned 3 inches below the center slot from the Dirt Lockers on the row above.
  • Continue adding terraced rows by filling one row at a time before proceeding to the next row.
  • CLICK HERE to watch this step.

J HOOK PLACEMENT

  • For precise J-hook placement instructions, refer to downloadable materials available post-purchase, or click here for reference.

Overview:

MEDIUM AND MINI DIRT LOCKERS:

  • Every 4th row gets 1 hook per Dirt Locker, plus 1 on the end. Ex: rows 1, 5, 9, 13 and so forth.
  • All even rows get 1 J hook on the right side end.
  • Every other odd row gets 1 J hook on each end. Ex: rows 3, 7, 11, 15 and so forth.

LARGE DIRT LOCKERS:

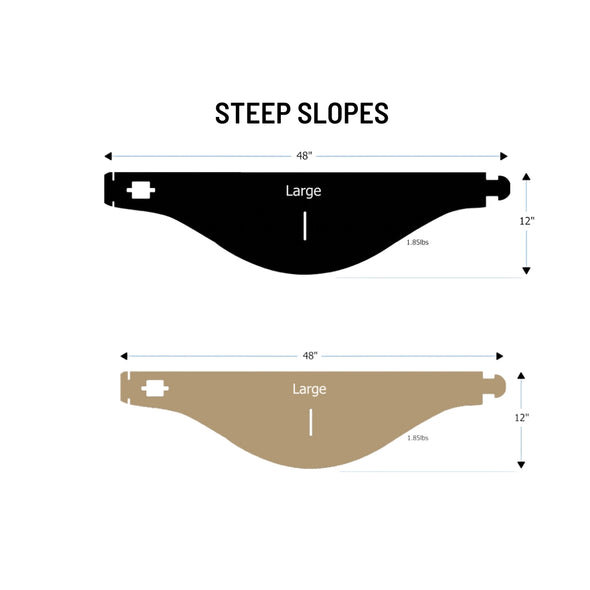
  • Every other row gets 1 J hook per Dirt Locker plus 1 on the end (odd rows). The rows in between (even rows) only need 1 J hook on the end as the last Dirt Locker does not connect to the row above.
  • DO NOT insert the cell tab into the center slot.

LARGE DIRT LOCKERS FOR SLOPES 36°-45°:

  • Every row gets 1 J hook per Dirt Locker plus 1 on the end. Ex: 10 Dirt Lockers per row = 11 J hooks.
  • Remember to create SEPARATE rows

STEP 4: BACKFILLING WITH SOIL

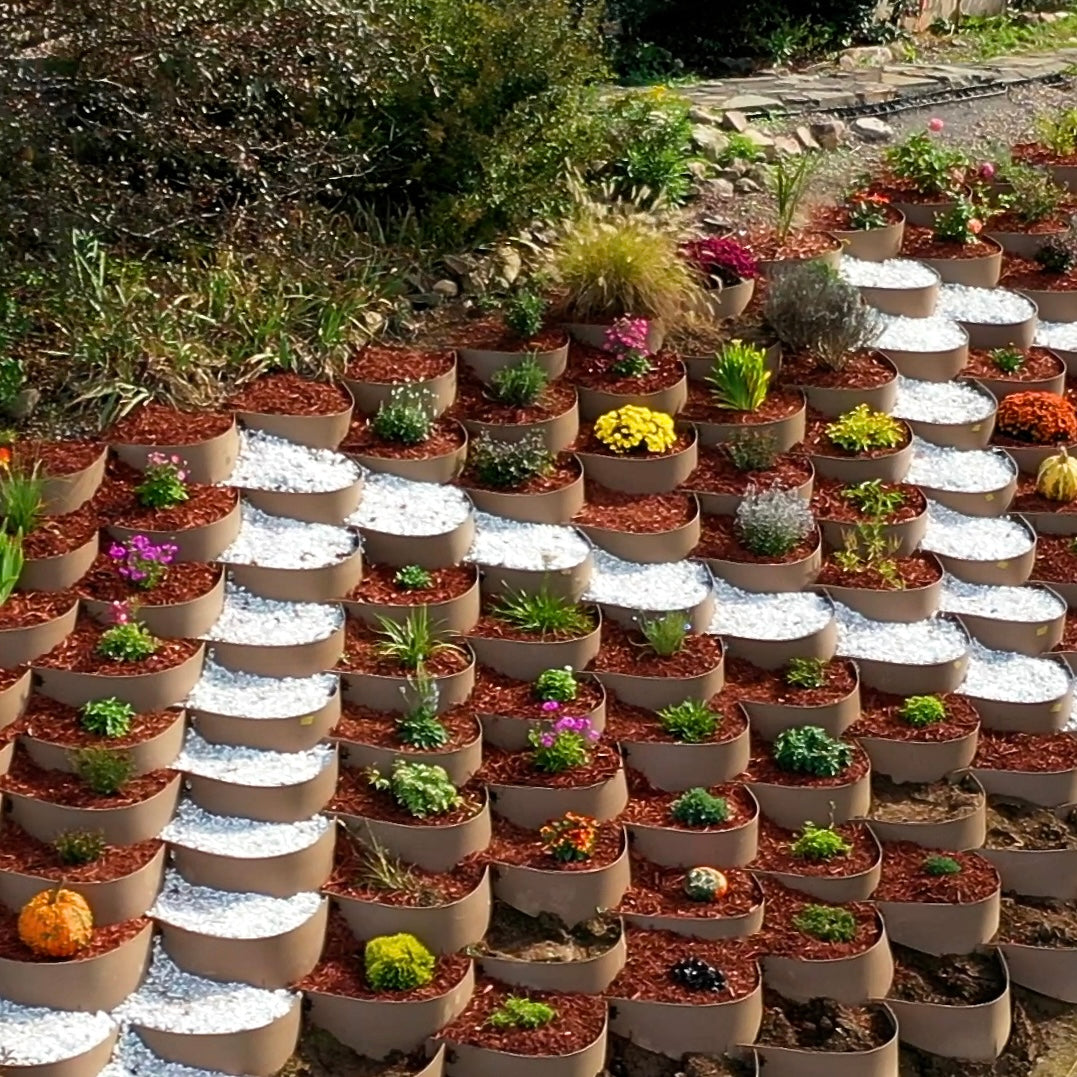
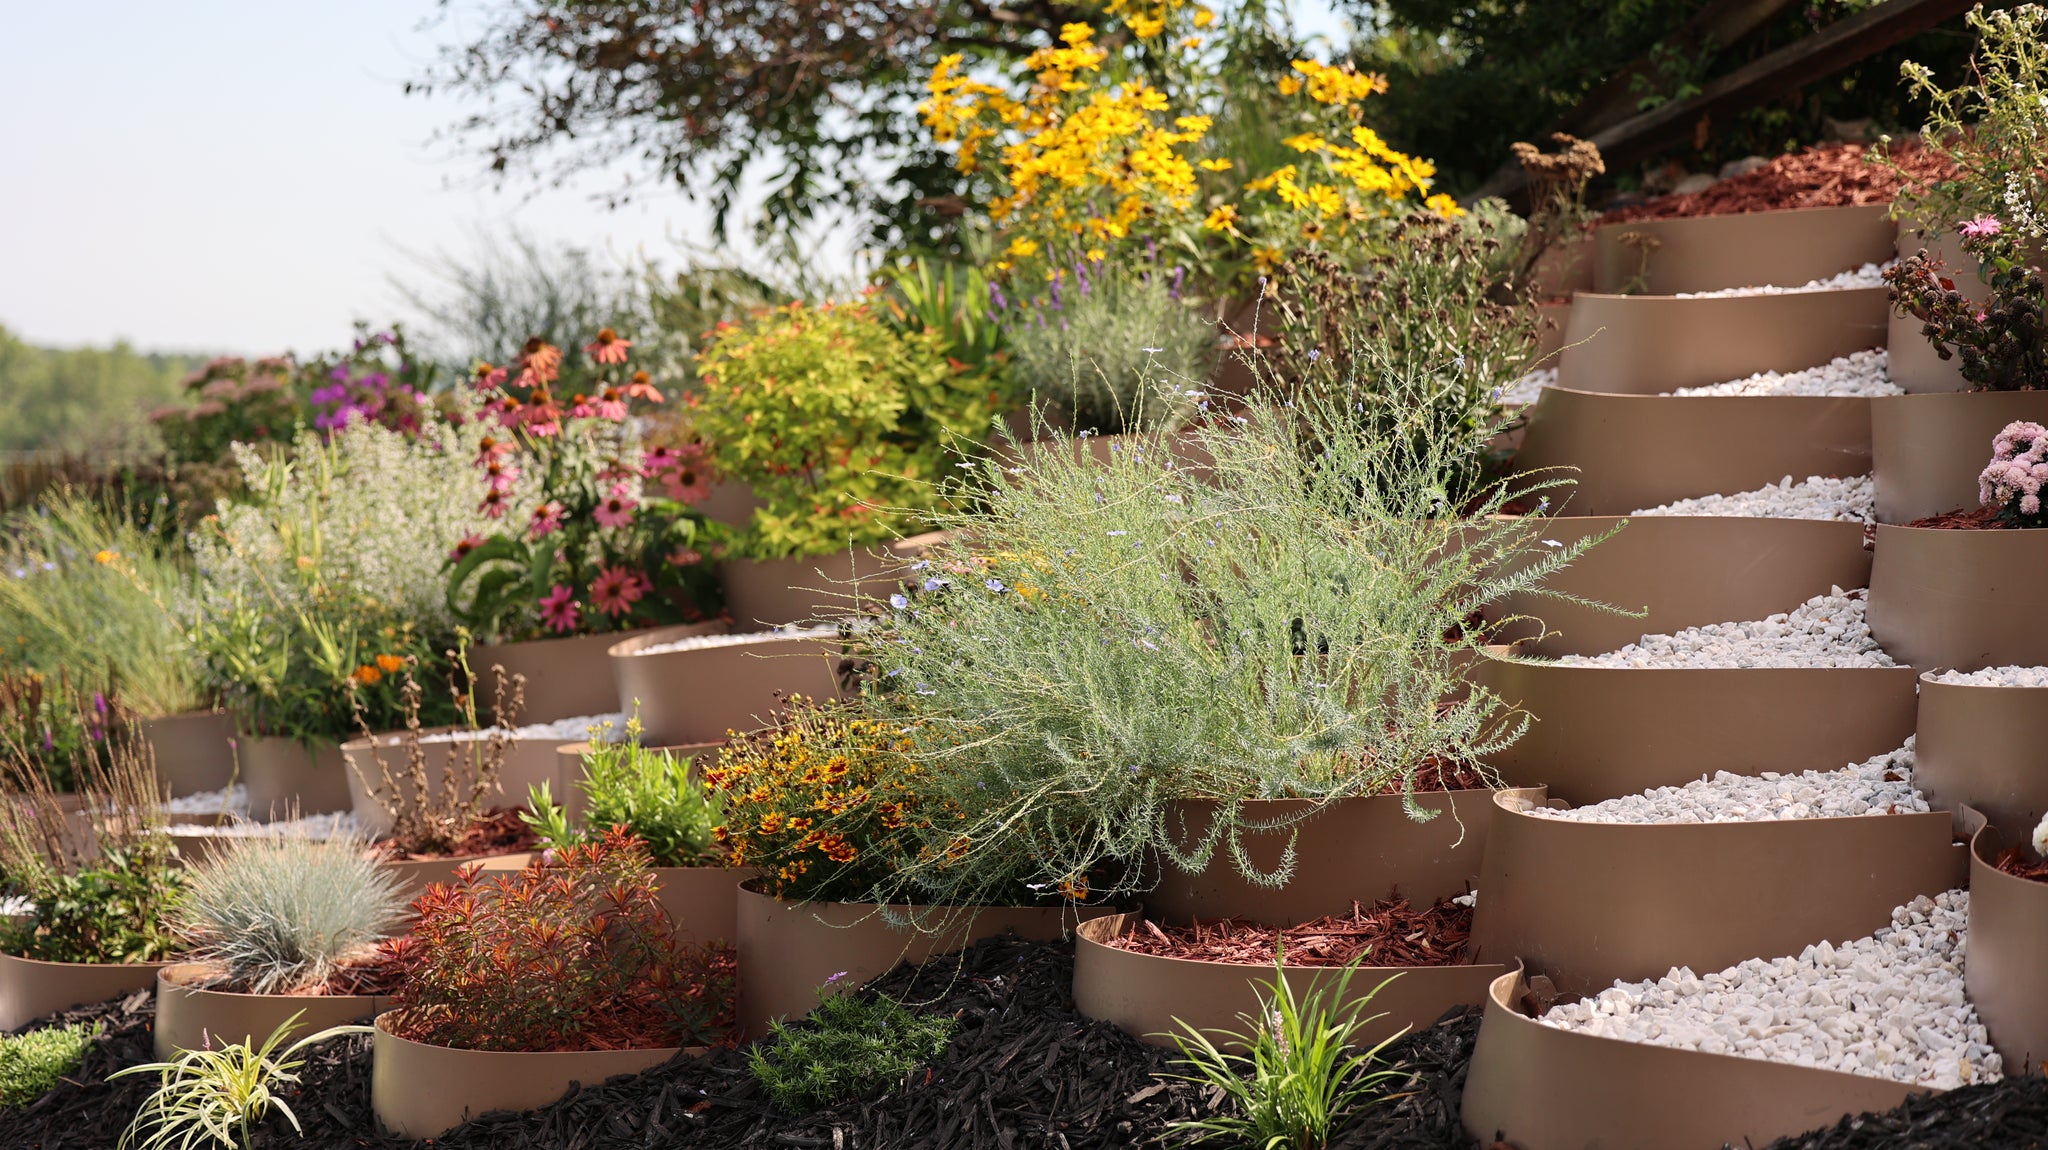
  • Starting left to right, fill the top row with soil halfway, sculpting each cell into a near perfect semi-circle at 24", 30" or 36" wide depending on slope angle.
  • Proceed to anchor J Hooks fully.
  • Now, fill the remaining portion of the Dirt Lockers with soil to the tip top before moving on to row 2.
  • Do not pack soil, as this causes tension.
  • Fill the next row (row 2) FULLY with soil as only 1 J hook is needed on this row when rows are connected.
  • Proceed to backfill one row at a time working left to right. When backfilling on rows that require multiple J Hooks, always fill only halfway with soil as the Dirt Lockers will start to expand. In order to sculpt each piece, J hooks must be accessible and moveable.
  • Once sculpted into semi- circle shapes at 24",30" or 36" wide, proceed to fully anchor J hooks
  • Fill the remaining portion of Dirt Lockers with soil up to the brim, ensuring not to compact it tightly to prevent excessive expansion and tension.

STEP 5: PLANT!

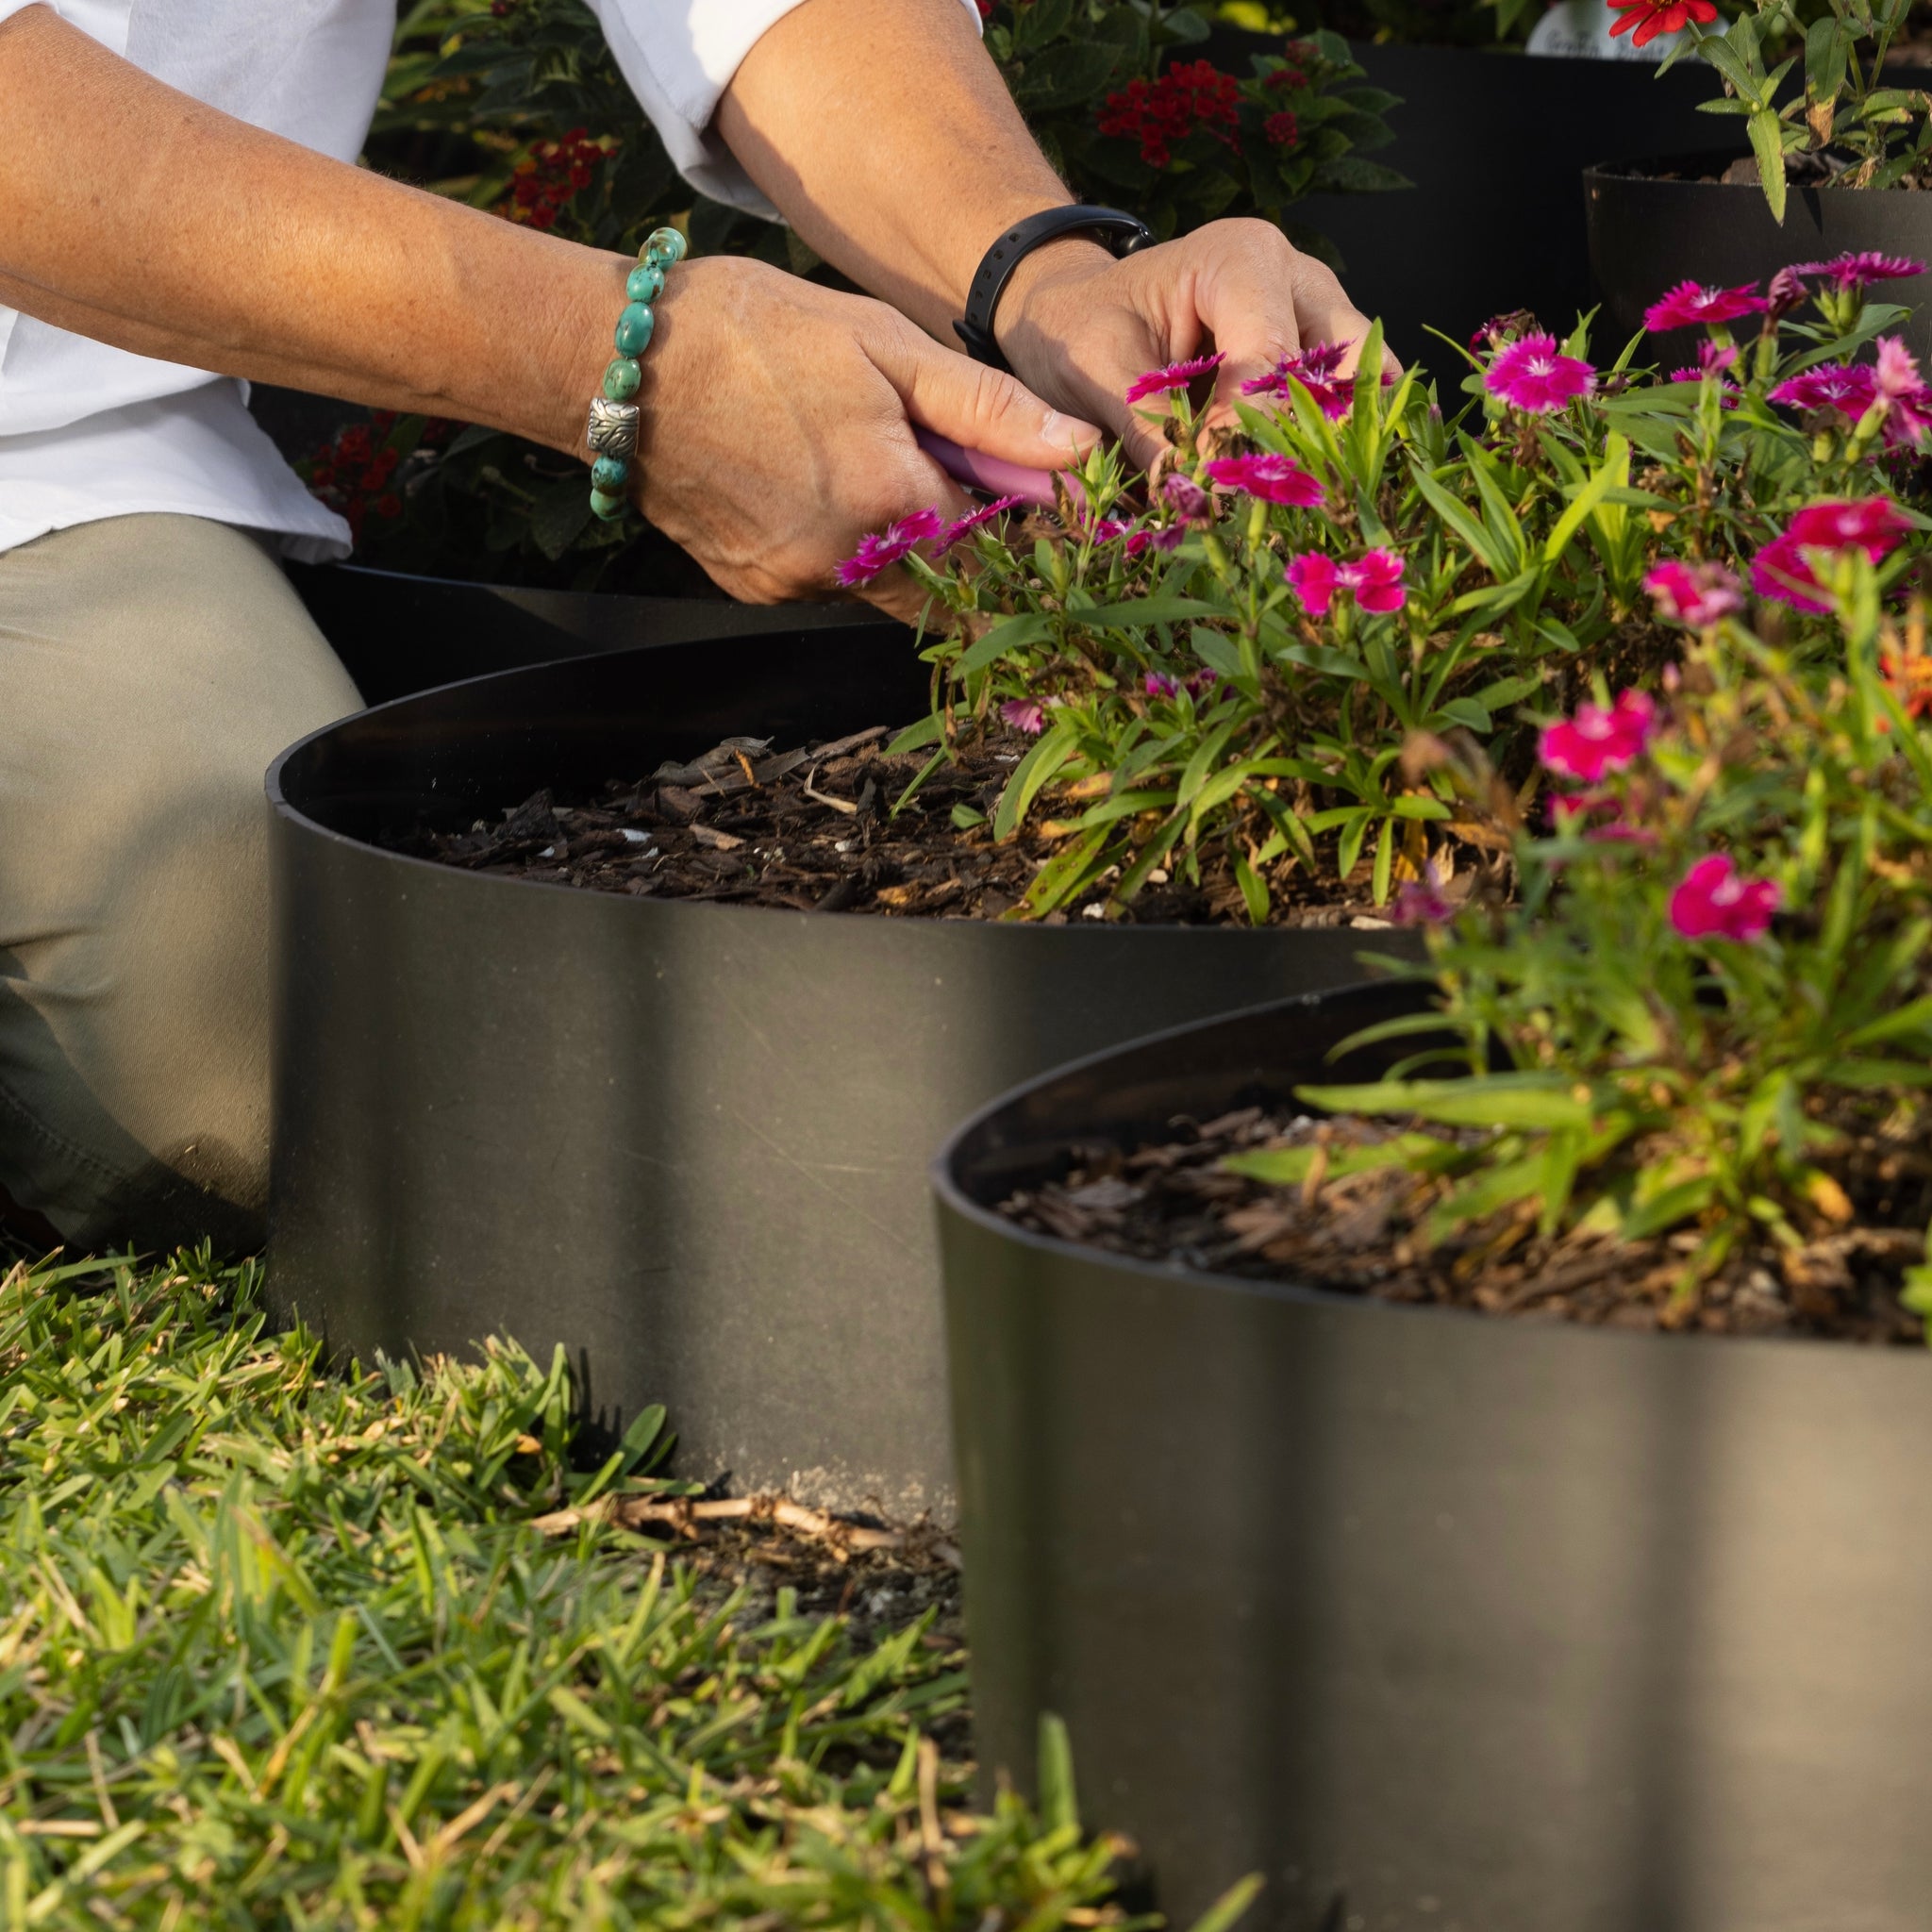
  • It is crucial that you maintain 50%-70% of your Dirt Locker quantity with plants at all times. The hillside depends on your roots for long term stabilization.
  • Apply mulch for improved weed control, increased insulation, enhanced water conservation, better soil health, and elevated aesthetic appeal in the area.
  • What to plant: Natives, seeds, vegetables, fruit trees, perennials, annuals, bulbs, shrubs, ground covers, tall grasses, herbs, roses, succulents, and ferns to name a few.
  • To ensure a thriving and sustainable garden, it's important to select plants that are well-suited to your local conditions.
  • CLICK HERE to look up your plant hardiness zone.
  • CLICK HERE for for a 5% discount with our partner nursery Prevail Plants, using code PrevailPlants5.

STEP 6: STEPPING PATH and DRIP

  • Designate cells for a stepping path in a horizontal or diagonal pattern for safe stepping.
  • Always fill 3/4's with soil first, add a cutout of fabric, then top off with a layer of decorative stones or pavers.
  • Be sure to have placed a J hook on both sides of each Dirt Locker in the stepping path.
  • Remember, Dirt Lockers are not meant to act solely as a staircase.
  • Follow the 50%-70% planting requirement when incorporating an access pathway to ensures your hillside remains stable and erosion is minimized.
  • CLICK HERE to watch this step.

DRIP IRRIGATION:

  • We recommend incorporating drip irrigation to maximize water efficiency per plant unit, or use pre-existing sprinklers.
  • CLICK HERE to watch this step.

Recommended Tools

1-Gardening Gloves

2-4ft level

3-Organic Soil

4-Garden Rake

5-Durable shovel

6-3lb mallet

*As an Amazon Associate, Dirt Locker® earns a small commission for referring a sale to qualifying purchases via the recommended links.